Performing a failback
A failback is a process of moving the workload from the cloud back to your premises.
During this process, the server being moved is unavailable. The length of the maintenance window is approximately equal to the duration of a backup and the subsequent recovery of the server.
- Select the recovery server that is in the Failover state.
-
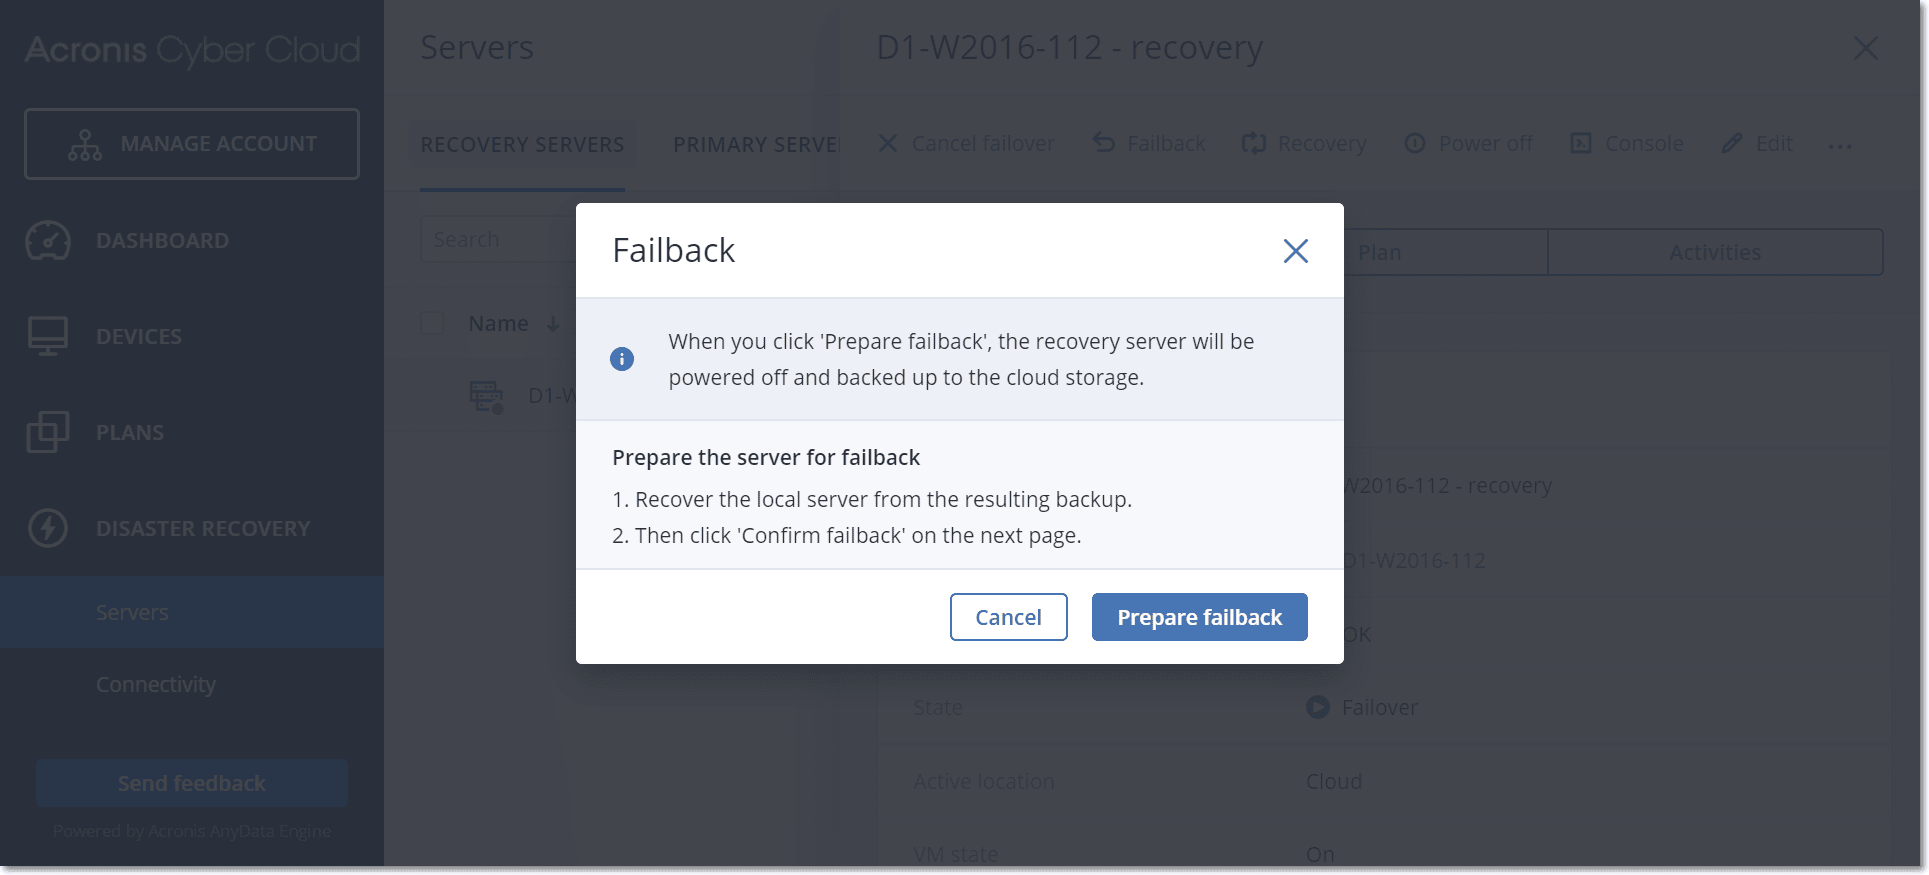
Click Failback.
-
Click Prepare failback.
The recovery server will be stopped and backed up to the cloud storage. Wait for the backup to complete.
At this time, two actions become available: Cancel failback and Confirm failback. If you click Cancel failback, the recovery server will start and the failover will continue.
-
Recover the server from this backup to hardware or to a virtual machine on your premises.
- When using bootable media, proceed as described in "Recovering disks by using bootable media" in the Cyber Protection User Guide. Ensure that you sign in to the cloud by using the account for which the server is registered and that you select the most recent backup.
- If the target machine is online or is a virtual machine, you can use the service console. On the Backup storage tab, select the cloud storage. In Machine to browse from, select the target physical machine or the machine running the agent, if the target machine is virtual. The selected machine must be registered for the same account for which the server is registered. Find the most recent backup of the server, click Recover entire machine, and then set up other recovery parameters. For the detailed instructions, refer to "Recovering a machine" in the Cyber Protection User Guide.
Ensure that the recovery is completed and the recovered machine works properly.
-
Return to the recovery server in the service console, and then click Confirm failback.
The recovery server and recovery points become ready for the next failover. To create new recovery points, apply a protection plan to the new local server.