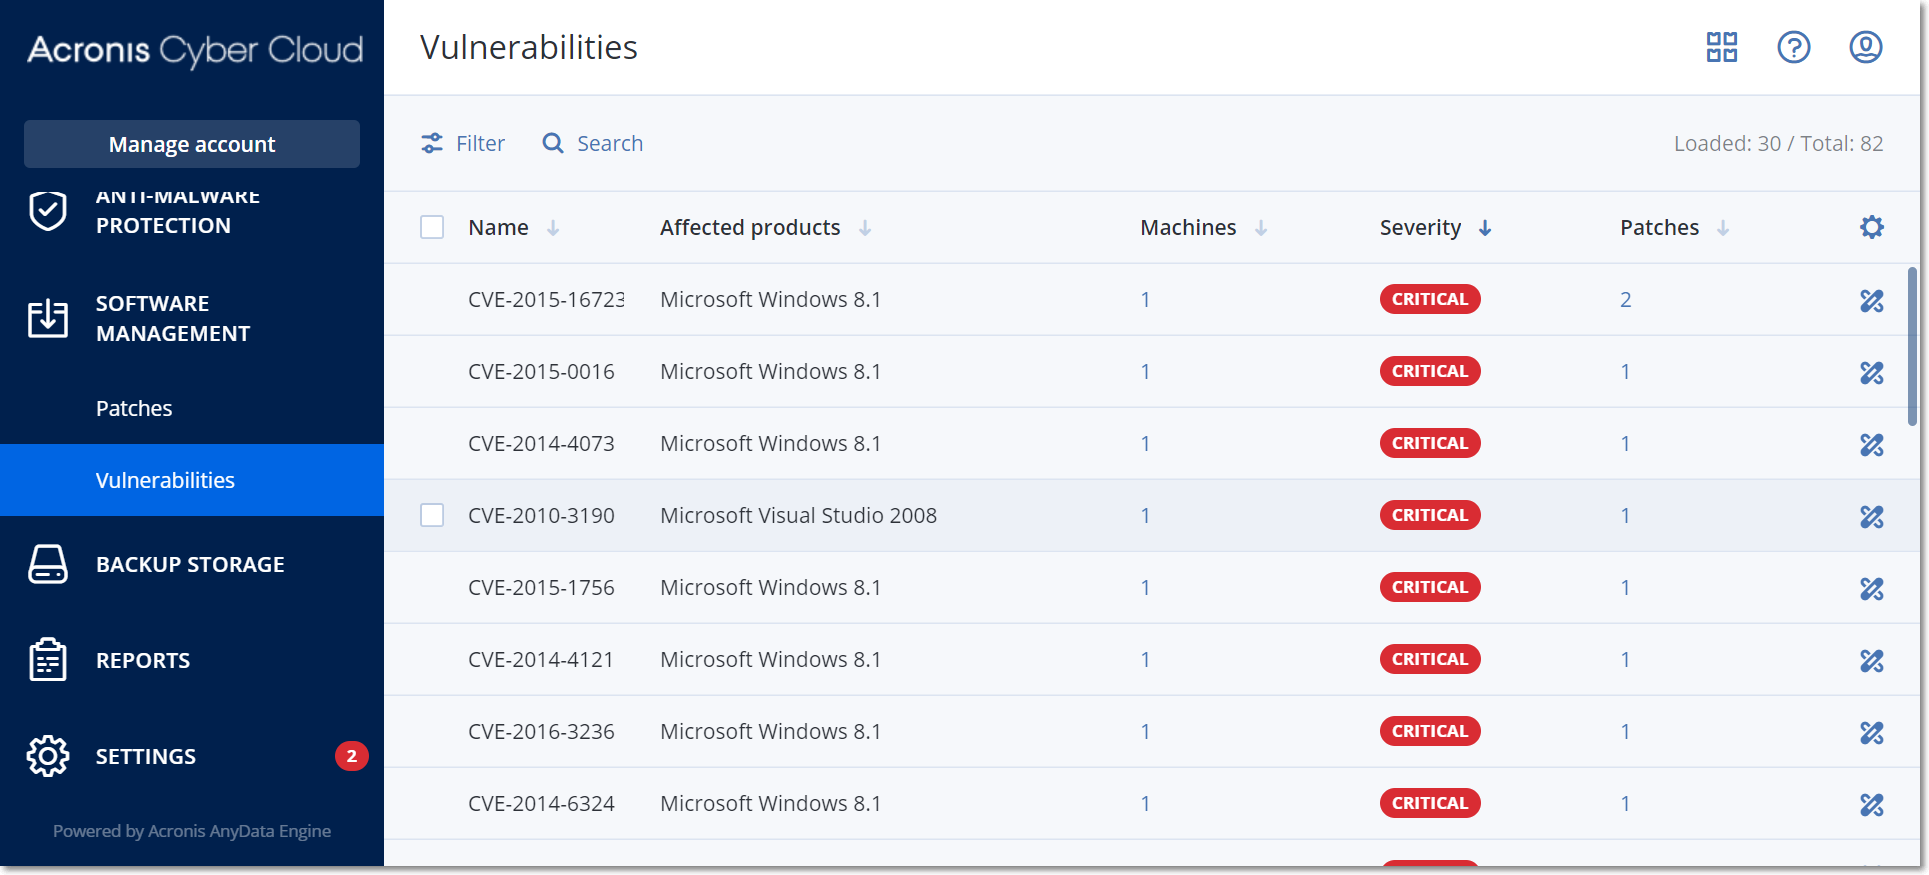
If the vulnerability assessment was performed at least once and some vulnerabilities were found, you will see them in Software management > Vulnerabilities. The list of vulnerabilities shows both vulnerabilities that have patches to be installed and those that do not have suggested patches. You can use the filter to show only vulnerabilities with patches.
Name |
Description |
Name |
The name of vulnerability. |
Affected products |
Software products for which the vulnerabilities were found. |
Machines |
The number of affected machines. |
Severity |
The severity of found vulnerability. The following levels can be assigned according to the Common Vulnerability Scoring System (CVSS):
|
Patches |
The number of appropriate patches. |
Published |
The date and time when the vulnerability was published in Common Vulnerabilities and Exposures (CVE). |
Detected |
The first date when an existing vulnerability was detected on machines. |
You can find the description of found vulnerability by clicking its name in the list.

To start the vulnerability remediation process
Do not reboot until backup is finished – if the backup process is running, the machine reboot will be delayed until the backup is completed.
When ready, click Install patches.
As a result, the selected patches will be installed on the selected machines.