You can follow the instructions below or watch the video tutorial.
Prerequisites
To create a recovery server
Be aware of the compute points next to every option. The number of compute points reflects the cost of running the recovery server per hour.
Note If you use a DHCP server, add this IP address to the server exclusion list in order to avoid IP address conflicts.
This will give you the capability to test a failover in the isolated test network and to connect to the recovery server via RDP or SSH during a test failover. In the test failover mode, the VPN gateway will replace the test IP address with the production IP address by using the NAT protocol.
If you leave the check box cleared, the console will be the only way to access the server during a test failover.
Note If you use a DHCP server, add this IP address to the server exclusion list, in order to avoid IP address conflicts.
You can select one of the proposed IP addresses or type in a different one.
This will enable the recovery server to access the Internet during a real or test failover.
The RPO threshold defines the maximum time interval allowed between the last suitable recovery point for a failover and the current time. The value can be set within 15 – 60 minutes, 1 – 24 hours, 1 – 14 days.
Having a public IP address makes the recovery server available from the Internet during a failover or test failover. If you leave the check box cleared, the server will be available only in your production network.
The public IP address will be shown after you complete the configuration. The following ports are open for inbound connections to public IP addresses:
TCP: 80, 443, 8088, 8443
UDP: 1194
If you need other ports to be open, contact the support team.
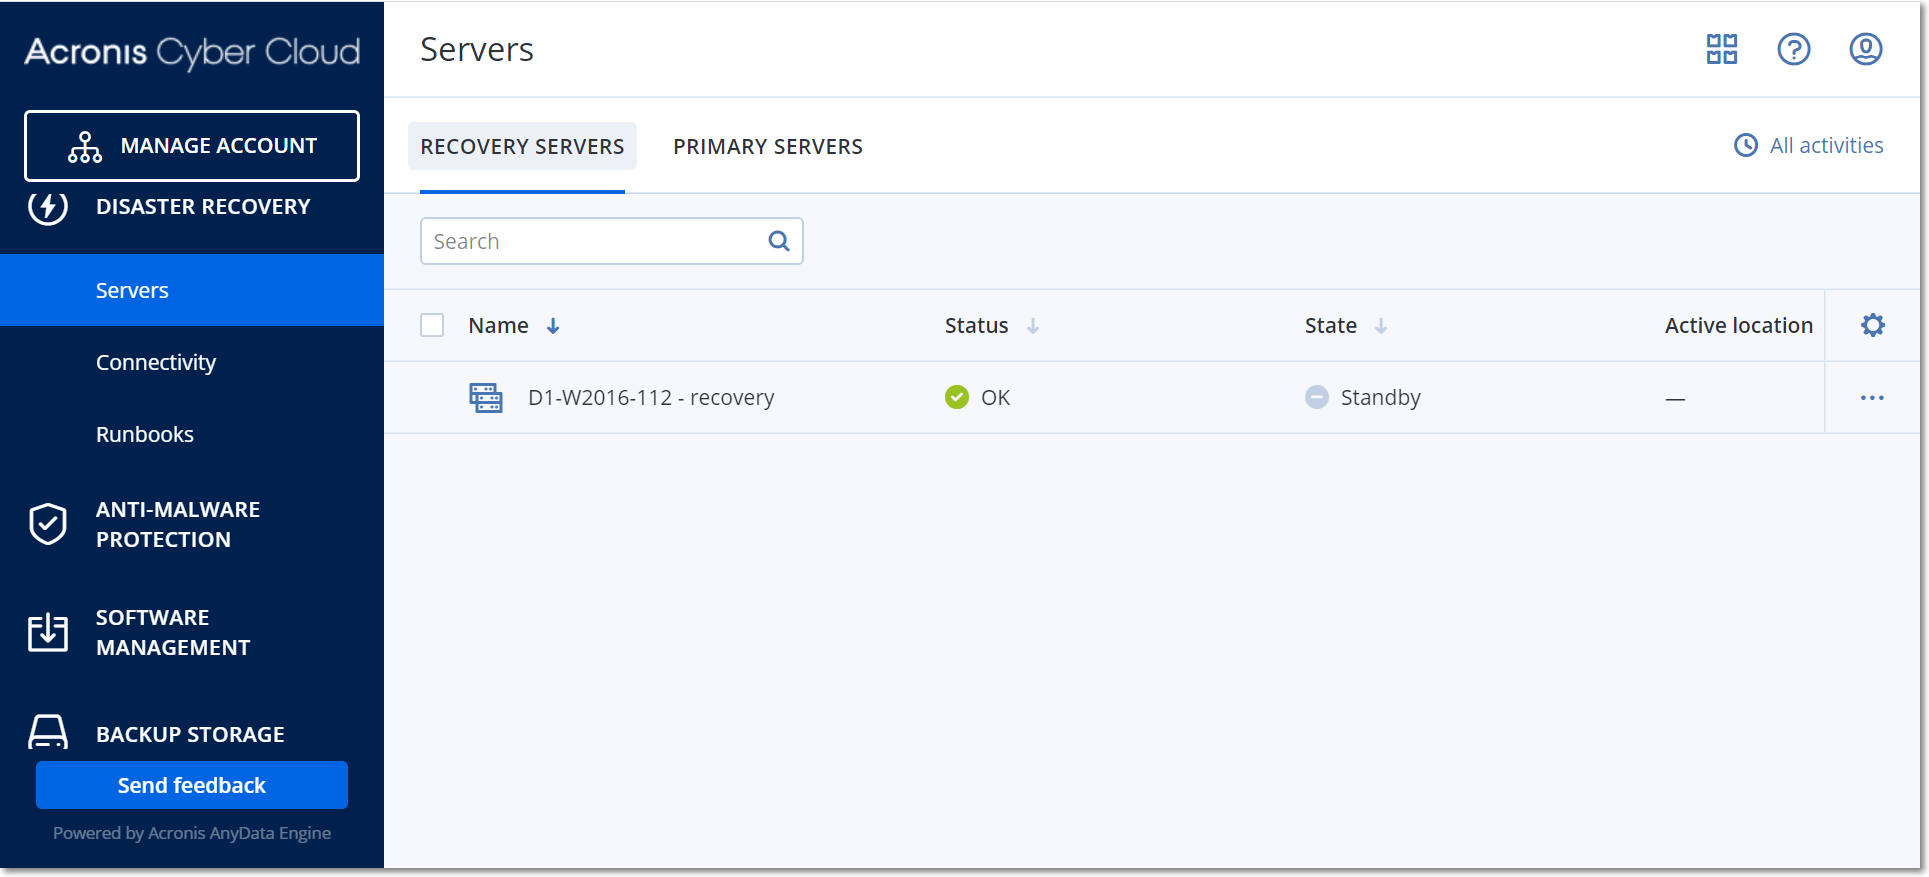
The recovery server appears in the Disaster Recovery > Servers > Recovery servers tab of the service console. You can also view its settings by selecting the original machine and clicking Disaster recovery.
